GET IN TOUCH:(213) 537 - 9495
610 S. Broadway Suite 1001 Los Angeles, CA 90014
How to perform Remote Desktop Session Host configuration
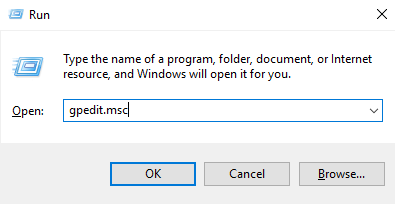
Step 1. Press Win + R and enter “gpedit.msc” to open the Local Group Policy Editor.
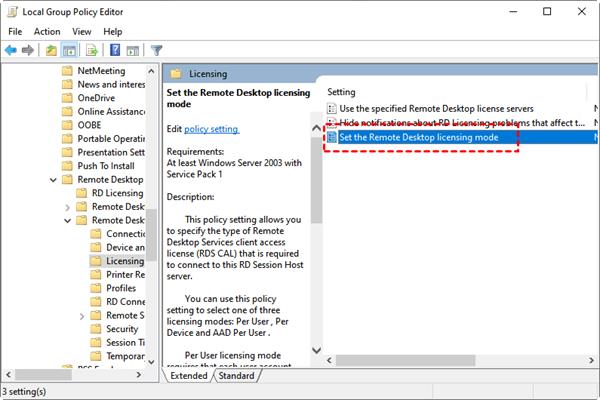
Step 2.
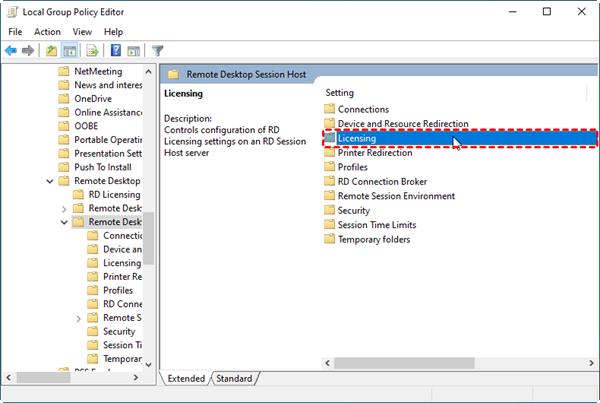
Select Computer Configuration
> Administrative Templates > Windows Components >
Remote Desktop
Services > Remote Desktop Session Host, and double-click Licensing from the right pane.
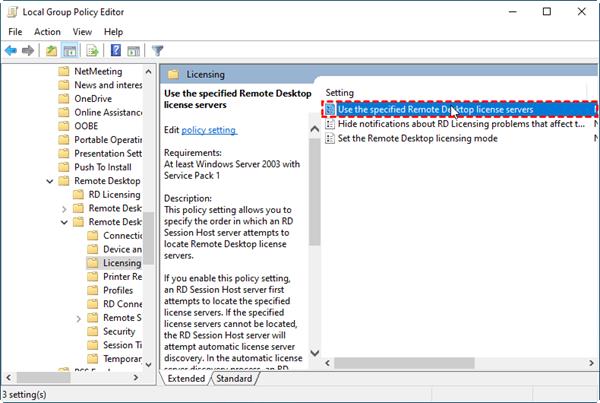
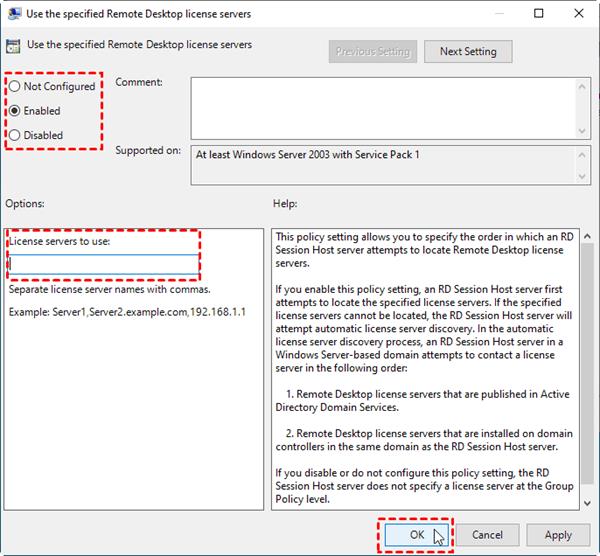
Step 3. Locate and double-click Use the specified Remote Desktop license servers.
Step 4.
Tick Enabled. Enter the server IP address in License servers to use. Then click Apply > OK.
Step 5.
Back to Licensing setting, click Set the Remote Desktop licensing mode.
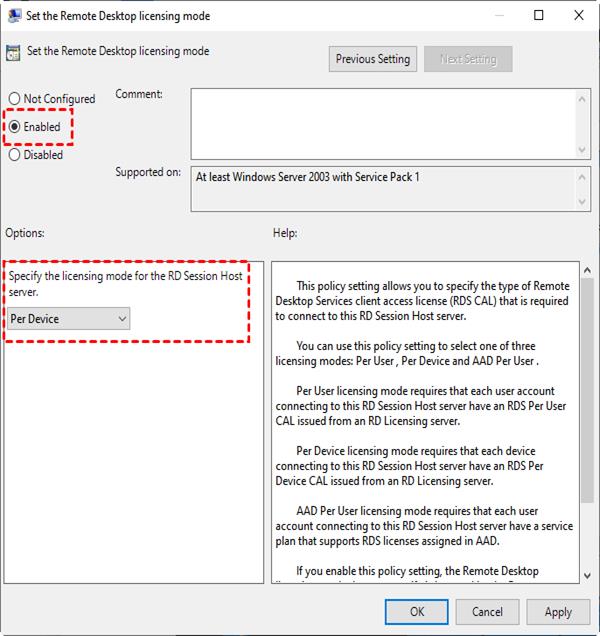
Step 6.
Tick Enabled. Under Options, select Per
User/Per device according to your operating system. Then click Apply > OK.
✔️Tips: For Windows Server 2016, select Per User. For Windows Server 2019/2022, select Per User (domain setup)/Per
device (if a workgroup server).
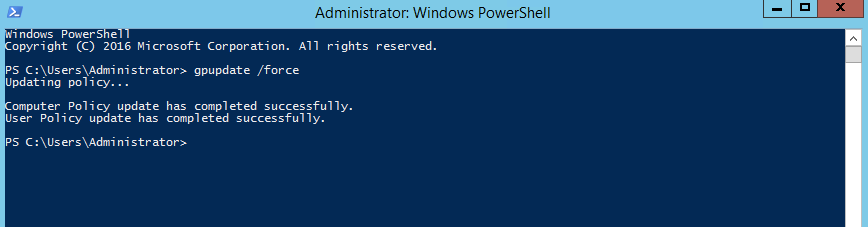
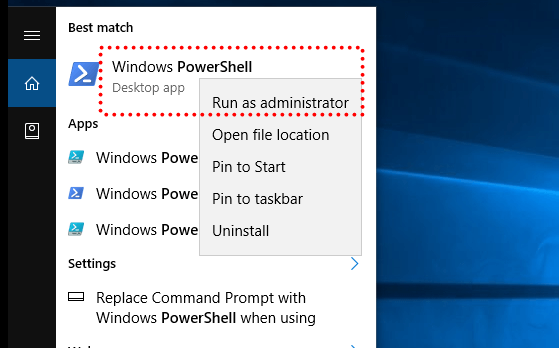
Step 7.
Close all open windows, search “PowerShell” in the start
menu, and select Run as administrator.
Step 8.
Enter “gpupdate /force”, the Remote Desktop
Session Host configuration completes
when you see the message “Computer Policy
update has completed successfully.”